Bulk Create Accounts or Leads
Create Accounts or Leads in bulk and track all runs in Job History.
Bulk Create lets you search for Nordic companies using Proff data, select multiple companies, and create them as Accounts or Leads in Salesforce in one operation.
With the latest updates, you can also open Job History to get full visibility of every run and review which records were new, existing, or failed.
When to use Bulk Create
Use Bulk Create when you want to:
- Add a batch of target companies to your CRM based on industry, region, size, or financial criteria
- Build prospecting lists of Leads from company data without manual entry
- Populate a new territory or market segment with pre-verified company records
Note
Bulk Create searches Proff company data (not your existing Salesforce records). It is designed for creating new records, not for updating existing ones.
Prerequisites
Before using Bulk Create:
- Your Proff Connect licence must be active
- At least one country must be configured in General Setup -> Settings
- Object Field Mapping must be set up for Account and/or Lead (minimum: Organisation Number + Country Code)
- You must have permission to create Account or Lead records in Salesforce
How to use Bulk Create
Step 1 - Open Bulk Create
- Open the Proff Connect app in Salesforce.
- Go to the Bulk Create tab.
- Select the country you want to search in.
- Click Fetch segmentation data.
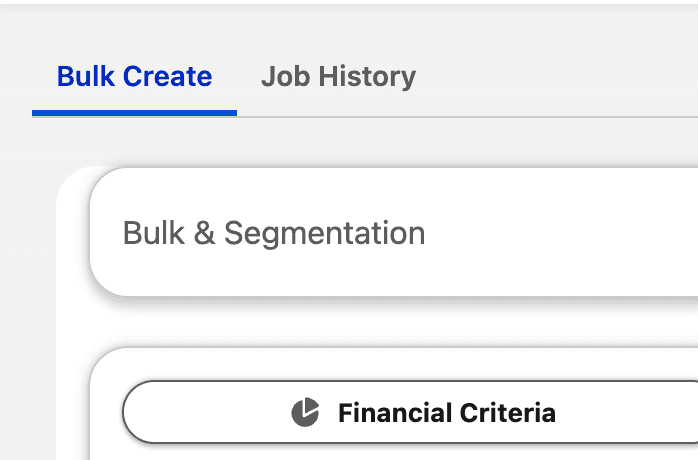
The Bulk Create area includes two tabs so you can move between creating new batches and reviewing historical jobs:
- Bulk Create for segmentation and creation
- Job History for run overview and follow-up
Step 2 - Filter your segment
Use one or more filters to narrow your target group, such as:
- Industry
- Region
- Company Type
- Financial Criteria
- Established Year
- Employees
- Has Phone / Has Email
- Sort By
Then click Fetch companies.
Step 3 - Review and select companies
Results are shown in pages of up to 500 companies.
- Select the companies you want to create as Accounts or Leads.
- Existing companies are flagged so they can be reviewed before creation.
Click Create X Records when your selection is ready.
Step 4 - Choose Account or Lead and configure fields
In the wizard:
- Choose whether to create Accounts or Leads.
- Review how many selected rows are new vs already existing.
- Configure required fields (for example Owner, Record Type, and additional fields).
- Click Create X Records.
Step 5 - Track all runs in Job History
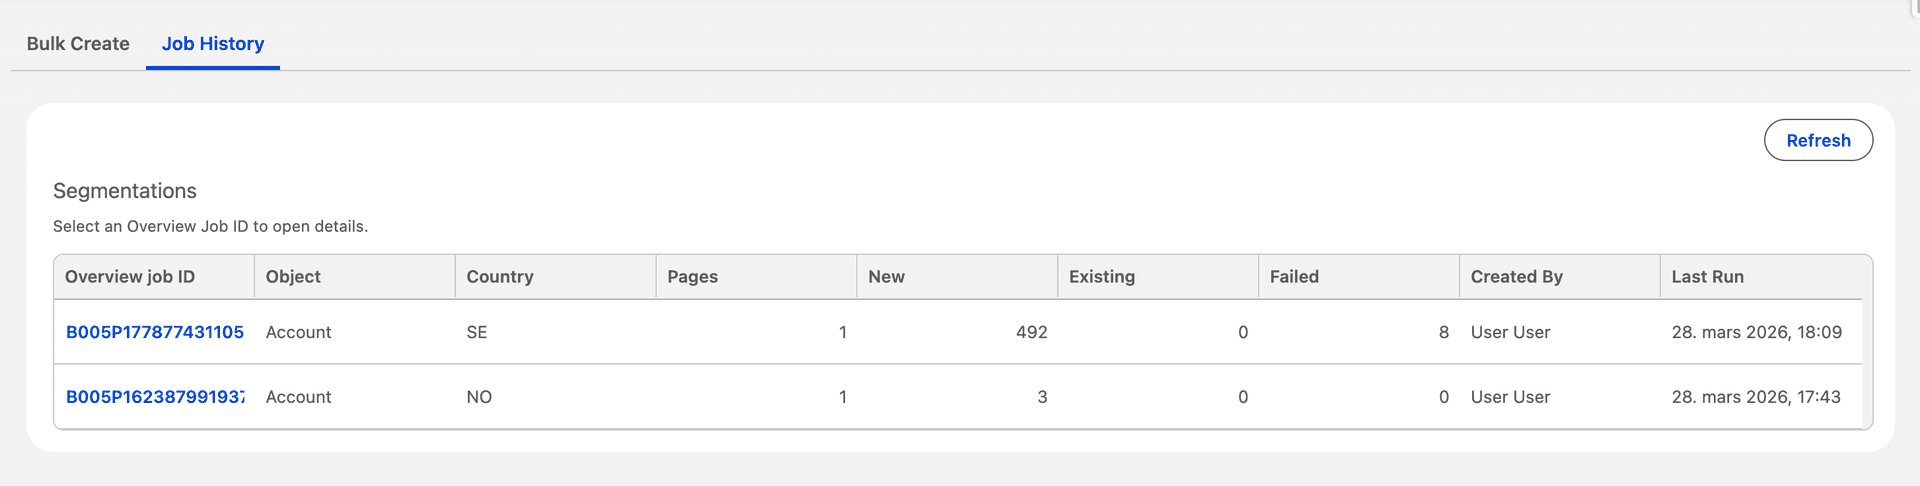
After a run starts, go to Job History under Bulk Create to track all jobs.
- First, open the jobs overview list to see all runs that have been executed:
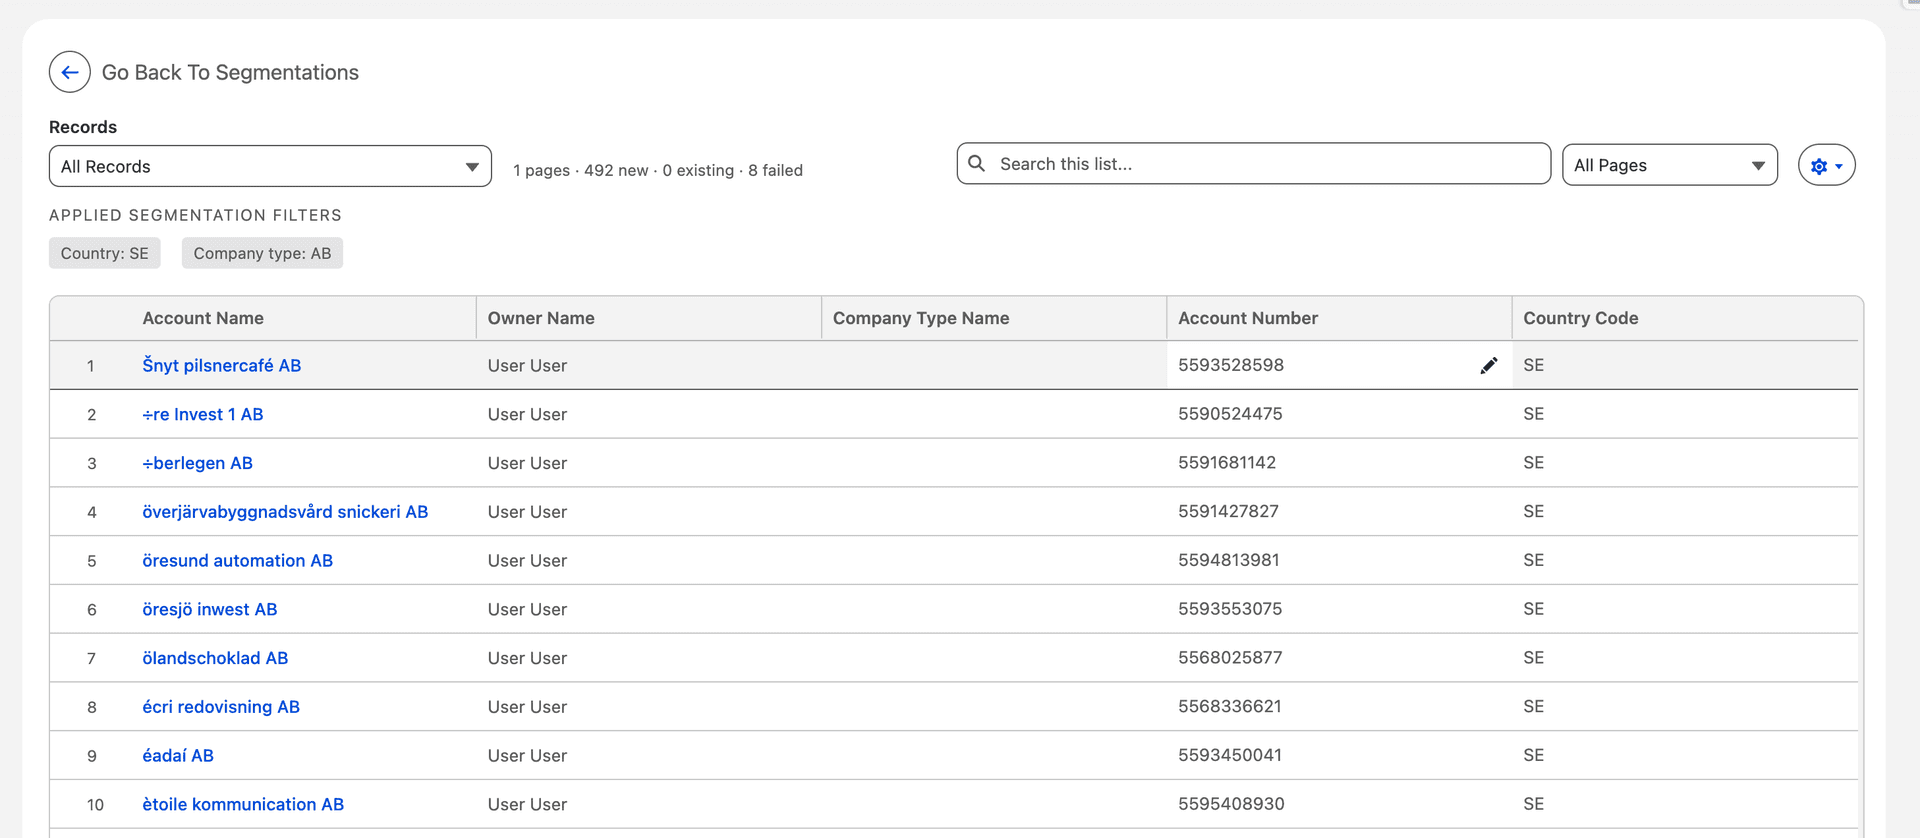
- Then open a specific job to see detailed segment results:
From Job History you can:
- See each job run in one place
- Review counts for new, existing, and failed records
- Open details per job to inspect segment results
- Use inline edit when you need to adjust values
- Choose which fields should be visible in the grid
Important
Job History gives a complete operational overview of Bulk Create runs and makes it easier to follow up failures directly from the same view.
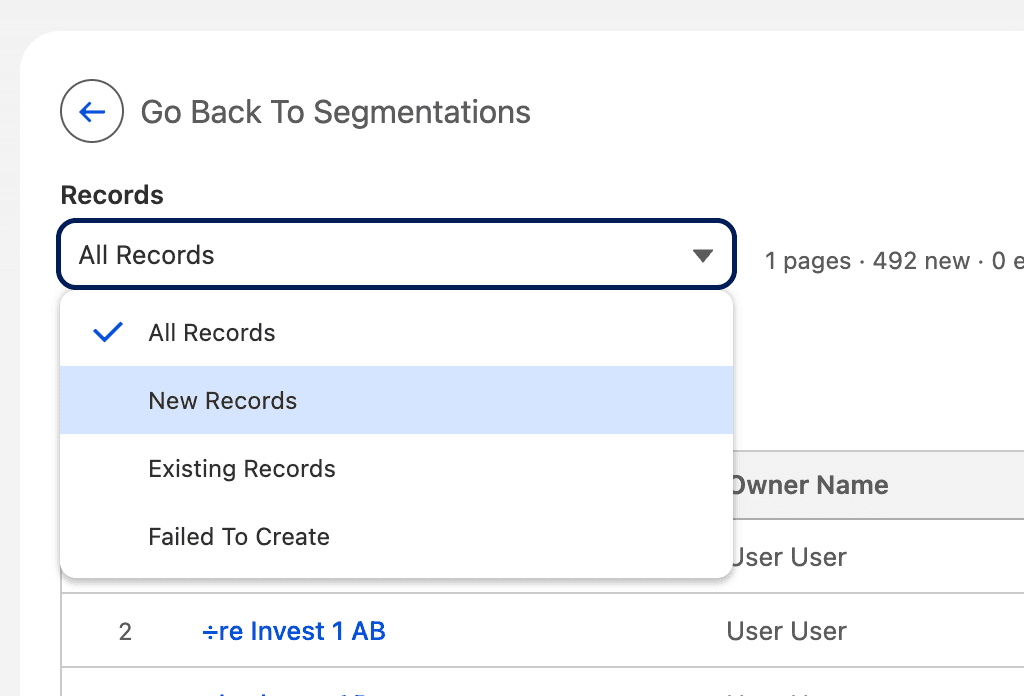
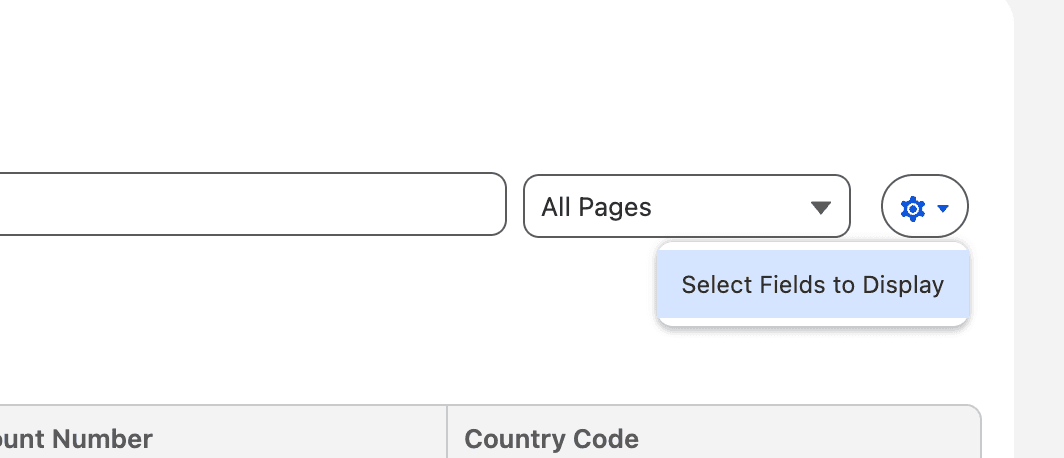
Filter by result type and customize fields
Use the records filter to quickly switch between all rows and result categories for the selected segment:
- All Records
- New Records
- Existing Records
- Failed To Create
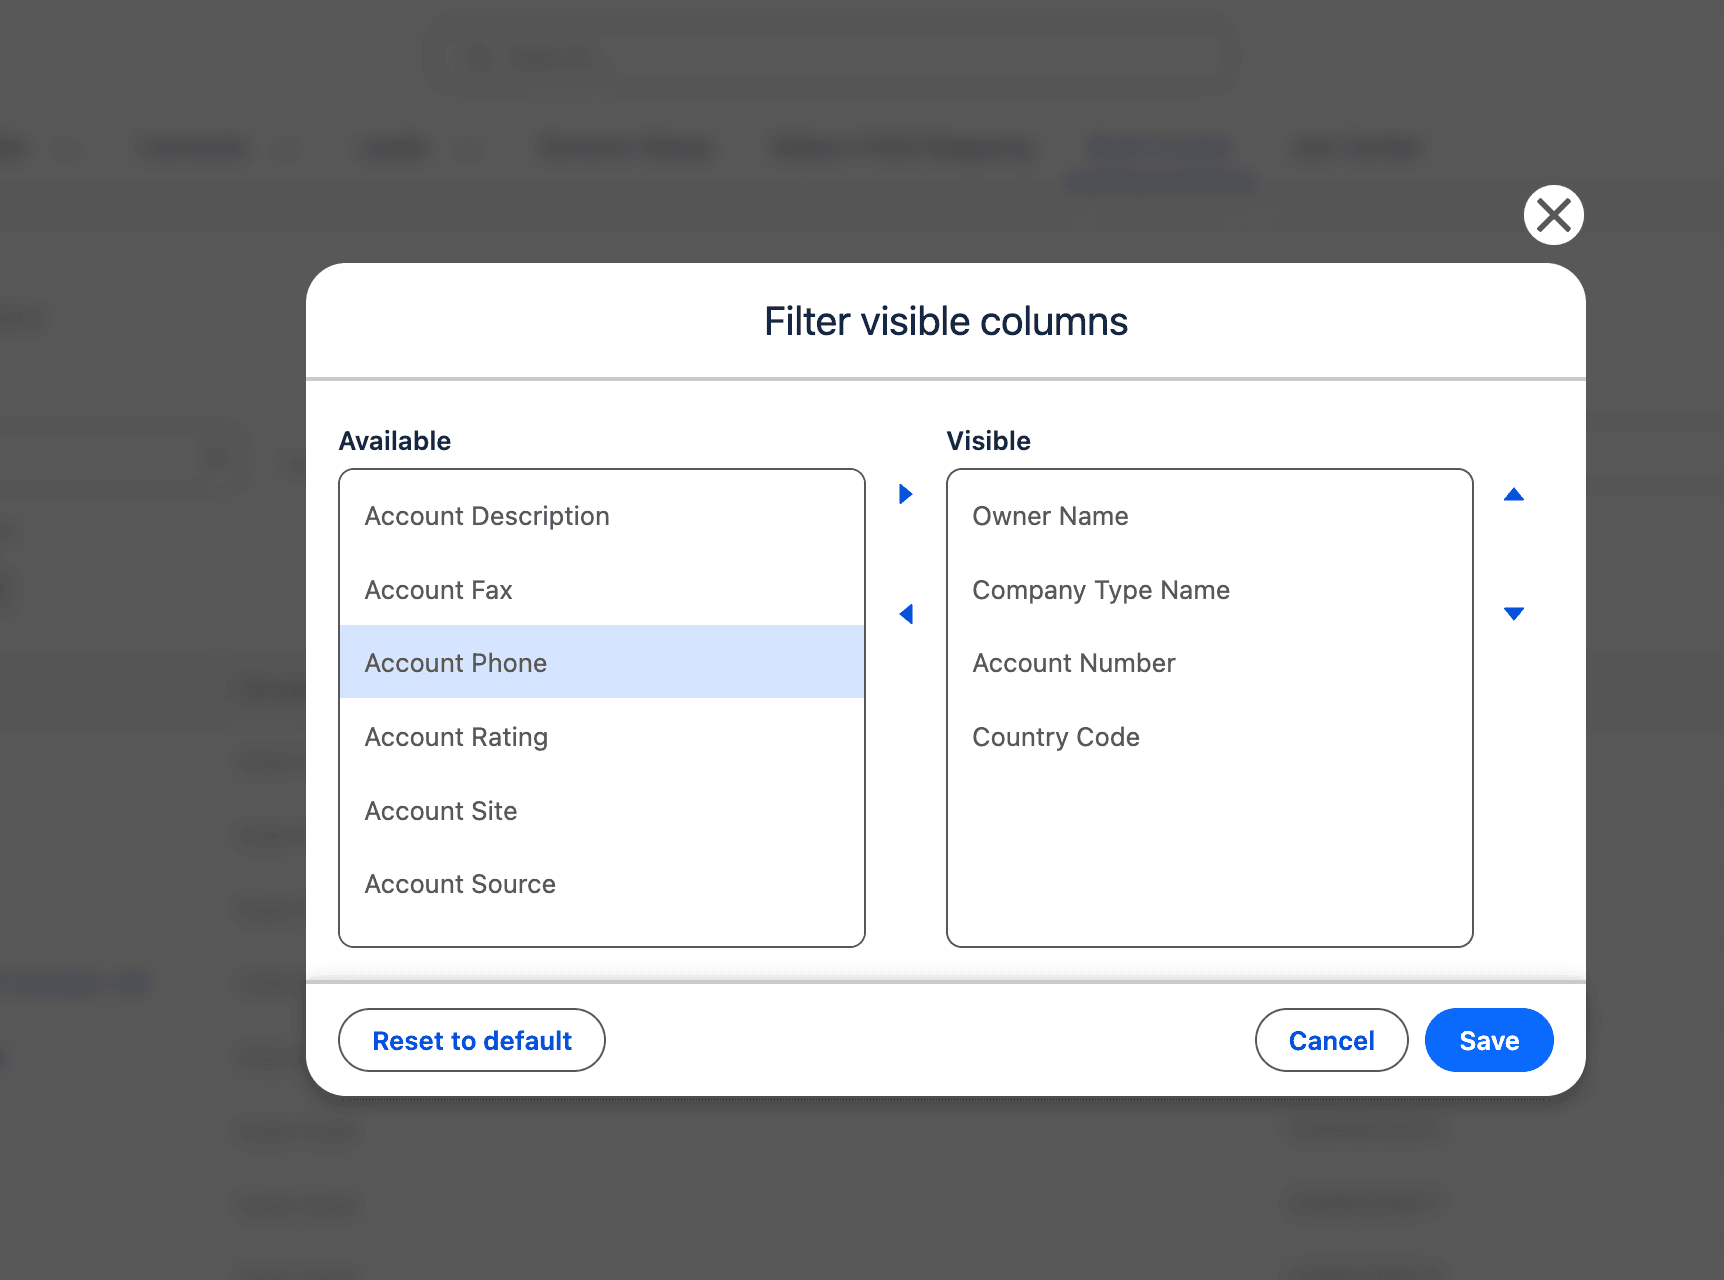
To adapt the grid for your workflow, open field settings and choose which columns should be visible.
What data is populated on new records
Data is populated from Proff according to your Object Field Mapping configuration, typically including:
- Company name
- Organisation number
- NACE industry category
- Address (street, city, postal code)
- Annual revenue
- Number of employees
- Established year
- Phone number and email (if available)
Currency is set automatically based on selected country:
- Norway (NO) -> NOK
- Sweden (SE) -> SEK
- Denmark (DK) -> DKK
- Finland (FI) -> EUR
Frequently asked questions
Where can I see what happened after a run?
Open Job History in Bulk Create. You can see every run and the split between new, existing, and failed rows.
Can I edit values in the result view?
Yes. Inline edit is supported in Job History.
Can I control which fields are shown?
Yes. You can choose which fields are visible in the Job History view.
What if some records fail?
Failed rows are listed in Job History so you can review and follow up quickly.
Was this article helpful?